Problem set
We want to build a single page web app (SPA) and login (authorize) a user against a single sign on server (SSO).
For the SSO we use keycloak, which is an open source (openid connect compliant) authorization server.
To build the SPA we use Nuxt (Vue) and `@nuxtjs/auth` package to adapt to the authorization grant we need.
Because we want to build a SPA, all of our code can potentially be viewed by any 3rd party, therefore, the proper authorization grant to follow is the `Authorization code flow with PKCE`.
I am only going to cover the steps involved specifically to properly authorize, bootstrapping a nuxt app is well covered on the official documentation and many other sources.
I also not cover access management, therefore all users in your keycloak setup (in the same realm) will be able to login.
If you are interested in a plain code example you can clone my github repository.
The following assumptions will be made:
Nuxt will be running on localhost:3000
Keycloak will be running on localhost:8080
Authorization code flow and PKCE
Basically, the authorication code flow with proof key for code exchange is a oauth2 standard grant flow. Its purpose is to circumvent threats which javascript based frontends are exposed to.
Follow here for an indepth article on oauth2 for SPA
Keep in mind that I focus on single page apps, if you render your request in javascript on the backend, your threat model is entirely different.
Keycloak setup
I am not going to cover all the details, but give you the steps involved to run a standalone for development purpose:
Keycloak runs on Windows and *Nix systems.
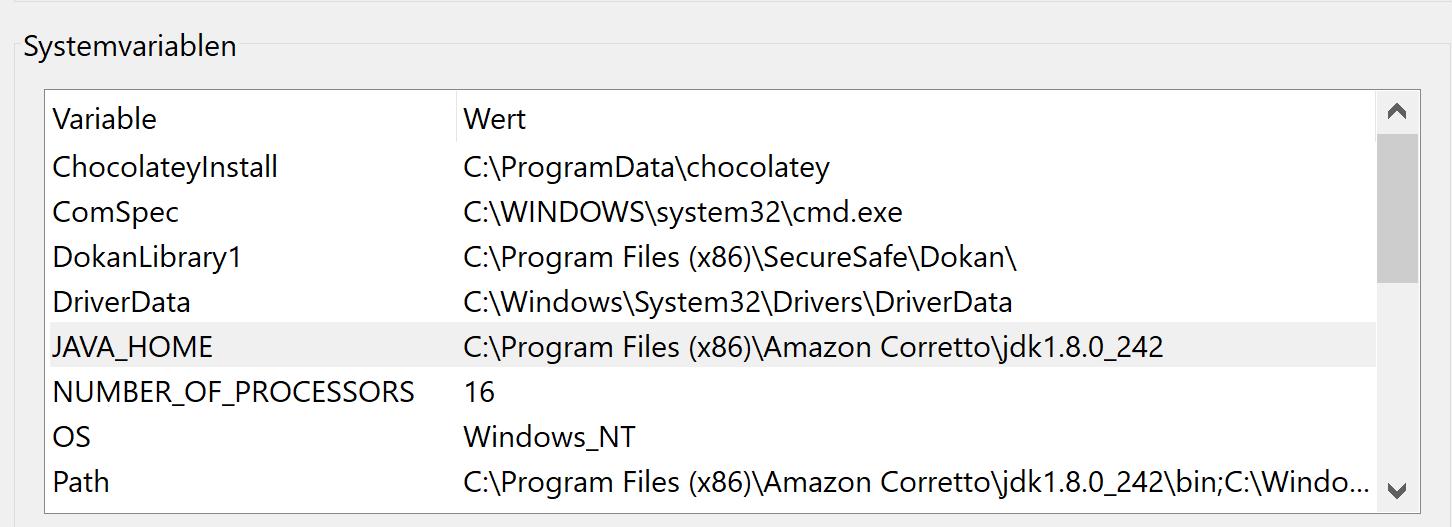
You need a Java installation, keycloak recommends OpenJDK. If you have another distribution installed already, you are probably good to go. Make sure Java (JAVA_HOME) variable is setup. I run mine with Amazon Coretto on Windows.

Keycloak official Download site
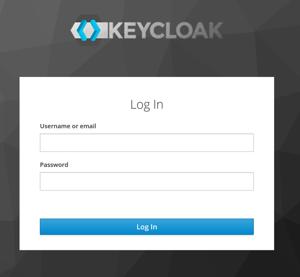
Unzip and execute standalone. You will end up with something like this:

Keycloak configuration
Create a realm.
Create a new client. Set the access type to public and the "Proof Key for Code Exchange Code Challenge Method" (PKCE) to S256.


Create a new user.
Authorize
I assume you have a default Nuxt setup and a decent understanding of how Nuxt works.
Install nuxt auth and axios.
`yarn add @nuxtjs/auth @nuxtjs/axios @nuxtjs/proxy`
The minimum version of the auth package is 5, by the time of this writing (Nov 20), you will need to install auth-next package instead.
`yarn add @nuxtjs/auth-next @nuxtjs/axios @nuxtjs/proxy`
After that, add the packages under the modules key in the nuxt configuration.
More setup details can be found here
The authentication state will be stored in the vuex store. If you don't use vuex already, place an index.js file in the store directory in order to activate vuex.
We asume a realm named "demo".
Rename the "clientId" to the id you configured under kecloak setup.
auth: {
 strategies: {
 local: false,
 keycloak: {
 scheme: 'oauth2',
 endpoints: {
 authorization: '/auth/realms/demo/protocol/openid-connect/auth',
 token: '/auth/realms/demo/protocol/openid-connect/token',
 userInfo: '/auth/realms/demo/protocol/openid-connect/userinfo',
 logout: '/auth/realms/demo/protocol/openid-connect/logout?redirect_uri=' + encodeURIComponent('http://localhost:3000')
 },
 token: {
 property: 'access_token',
 type: 'Bearer',
 name: 'Authorization',
 maxAge: 300
 },
 refreshToken: {
 property: 'refresh_token',
 maxAge: 60 * 60 * 24 * 30
 },
 responseType: 'code',
 grantType: 'authorization_code',
 clientId: 'yourClientId',
 scope: ['openid', 'profile', 'email'],
 codeChallengeMethod: 'S256'
 }
 },
 redirect: {
 login: '/login',
 logout: '/',
 home: '/'
 }
 }
The proxy setup would look like:
 proxy: {
 '/auth': {
 target: 'http://localhost:8080'
 }
 },
Some notes:
Despite the single sign on and <u>sign out</u> concept, the single sing out (with keycloak) only really works with Java (Spring) Apps.
The default token expiration is very low to achieve something similar ` maxAge: 300` / 5 minutes.
The authentication will save the bearer token as cookie, so remember to ask for cookie consent first!
The cookie can copied and inspected on JWT.io . You will see that there are actually quiet some information in saved in there.
This can be levereaged for finer grade of authorization with differnt types of access management, role based, scopes etc. . Keycloak authorization services documentation here
The login
There is not much of a template to write, because the authorization itself will be done on the keycloak server.
The following login page will be sufficient, place it under pages/login.vue .
<template>
<div>
<h3>Login</h3>
<v-container>
<v-row dense>
<v-col cols="12">
<v-btn @click="login()">
Login via Idas
</v-btn>
</v-col>
</v-row>
</v-container>
</div>
</template>

<script>
export default {
name: 'LoginVue',
auth: 'guest',
methods: {
async login () {
try {
const response = await this.$auth.loginWith('keycloak')
// eslint-ignore-next-line
console.log(response)
} catch (err) {
// eslint-ignore-next-line
console.log(err)
}
}
}
}
</script>

<style scoped>

</style>
Thats it, try it, run it,
`yarn dev`